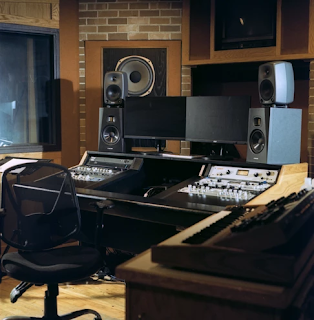
The Recording Process: From Demo To Master
Recording a song can be an exciting but complex process, involving multiple steps and technical skills. Whether you are a solo artist or part of a band, professional Maplewood studio can provide the space, equipment, and expertise needed to turn your musical ideas into a polished final product. In this blog, we will break down the process of recording a song in a professional studio, from creating a demo to mastering the final mix.
Step 1: Creating a Demo
The first step in the recording process is to create a demo of your song. A demo is a rough recording of the song, often created at home or in a rehearsal space, that gives the studio engineers a sense of the song's structure, tempo, and melody. Demos can be as simple as a voice memo recorded on a smartphone or as complex as a fully produced recording using audio production Missouri equipment.
Step 2: Pre-Production
Once the demo is complete, the next step is pre-production. This is the stage where the studio engineers work with the artist to refine the arrangement, tempo, and overall sound of the song. This might involve changing the key of the song, adjusting the tempo, or adding or removing instrumental parts. This stage is critical in ensuring that the final recording meets the artist's vision and musical goals.
Step 3: Recording the Tracks
Once the pre-production is complete, it's time to start recording the tracks. This is the stage where the studio engineers set up the recording equipment, including microphones, preamps, and mixing consoles, and work with the artist to capture the best possible performance. Typically, each instrument or vocal part is recorded separately to allow for maximum control and flexibility during the mixing and editing stages.
Step 4: Editing and Mixing
After all of the tracks have been recorded, it's time to edit and mix the song. This is the stage where the studio engineers use digital audio workstations (DAWs) to edit and manipulate the individual tracks to create a cohesive final mix. This might involve adjusting the levels of each instrument, adding effects like reverb and delay, and using EQ (Equalizer) and compression is done by Maplewood music studio.
Step 5: Mastering
Once the mix is complete, it's time for mastering. Mastering is the final stage of the recording process and involves creating a polished and cohesive final product that is ready for distribution.
Visit https://www.kalingaproductions.com/ to know more about Kalinga Production Studios and the recording process.


Comments
Post a Comment